Today I got my Mouser order in and I spent some time putting together the EEPROM shield that I laid out and sent off to BatchPCB back in January. Today was the first time I actually had all the parts to do the build.
After a bit of reverse engineering what the labels meant (and were supposed to mean) I did a bit more documentation in the code and realized that the labels were wrong or just plain useless on the board. So the next version would have to fix that…
But, it works! I’m currently writing another FCB1010 firmware to the extra 28C256 EEPROM chip I ordered when I did the FCB-1010 upgrade to the UNO firmware and so far there have been no issues! The Arduino code and the Processing code are working flawlessly (albet a bit slow, but, whatever, it’s serial)
If you want a PCB for this project, let me know and I’ll send you one. It’s simple… and it’s not entirely able to write to EPROM’s quite yet but it works fine for reading them!
Yet another project done! Now I can free up that other breadboard for more synth projects…
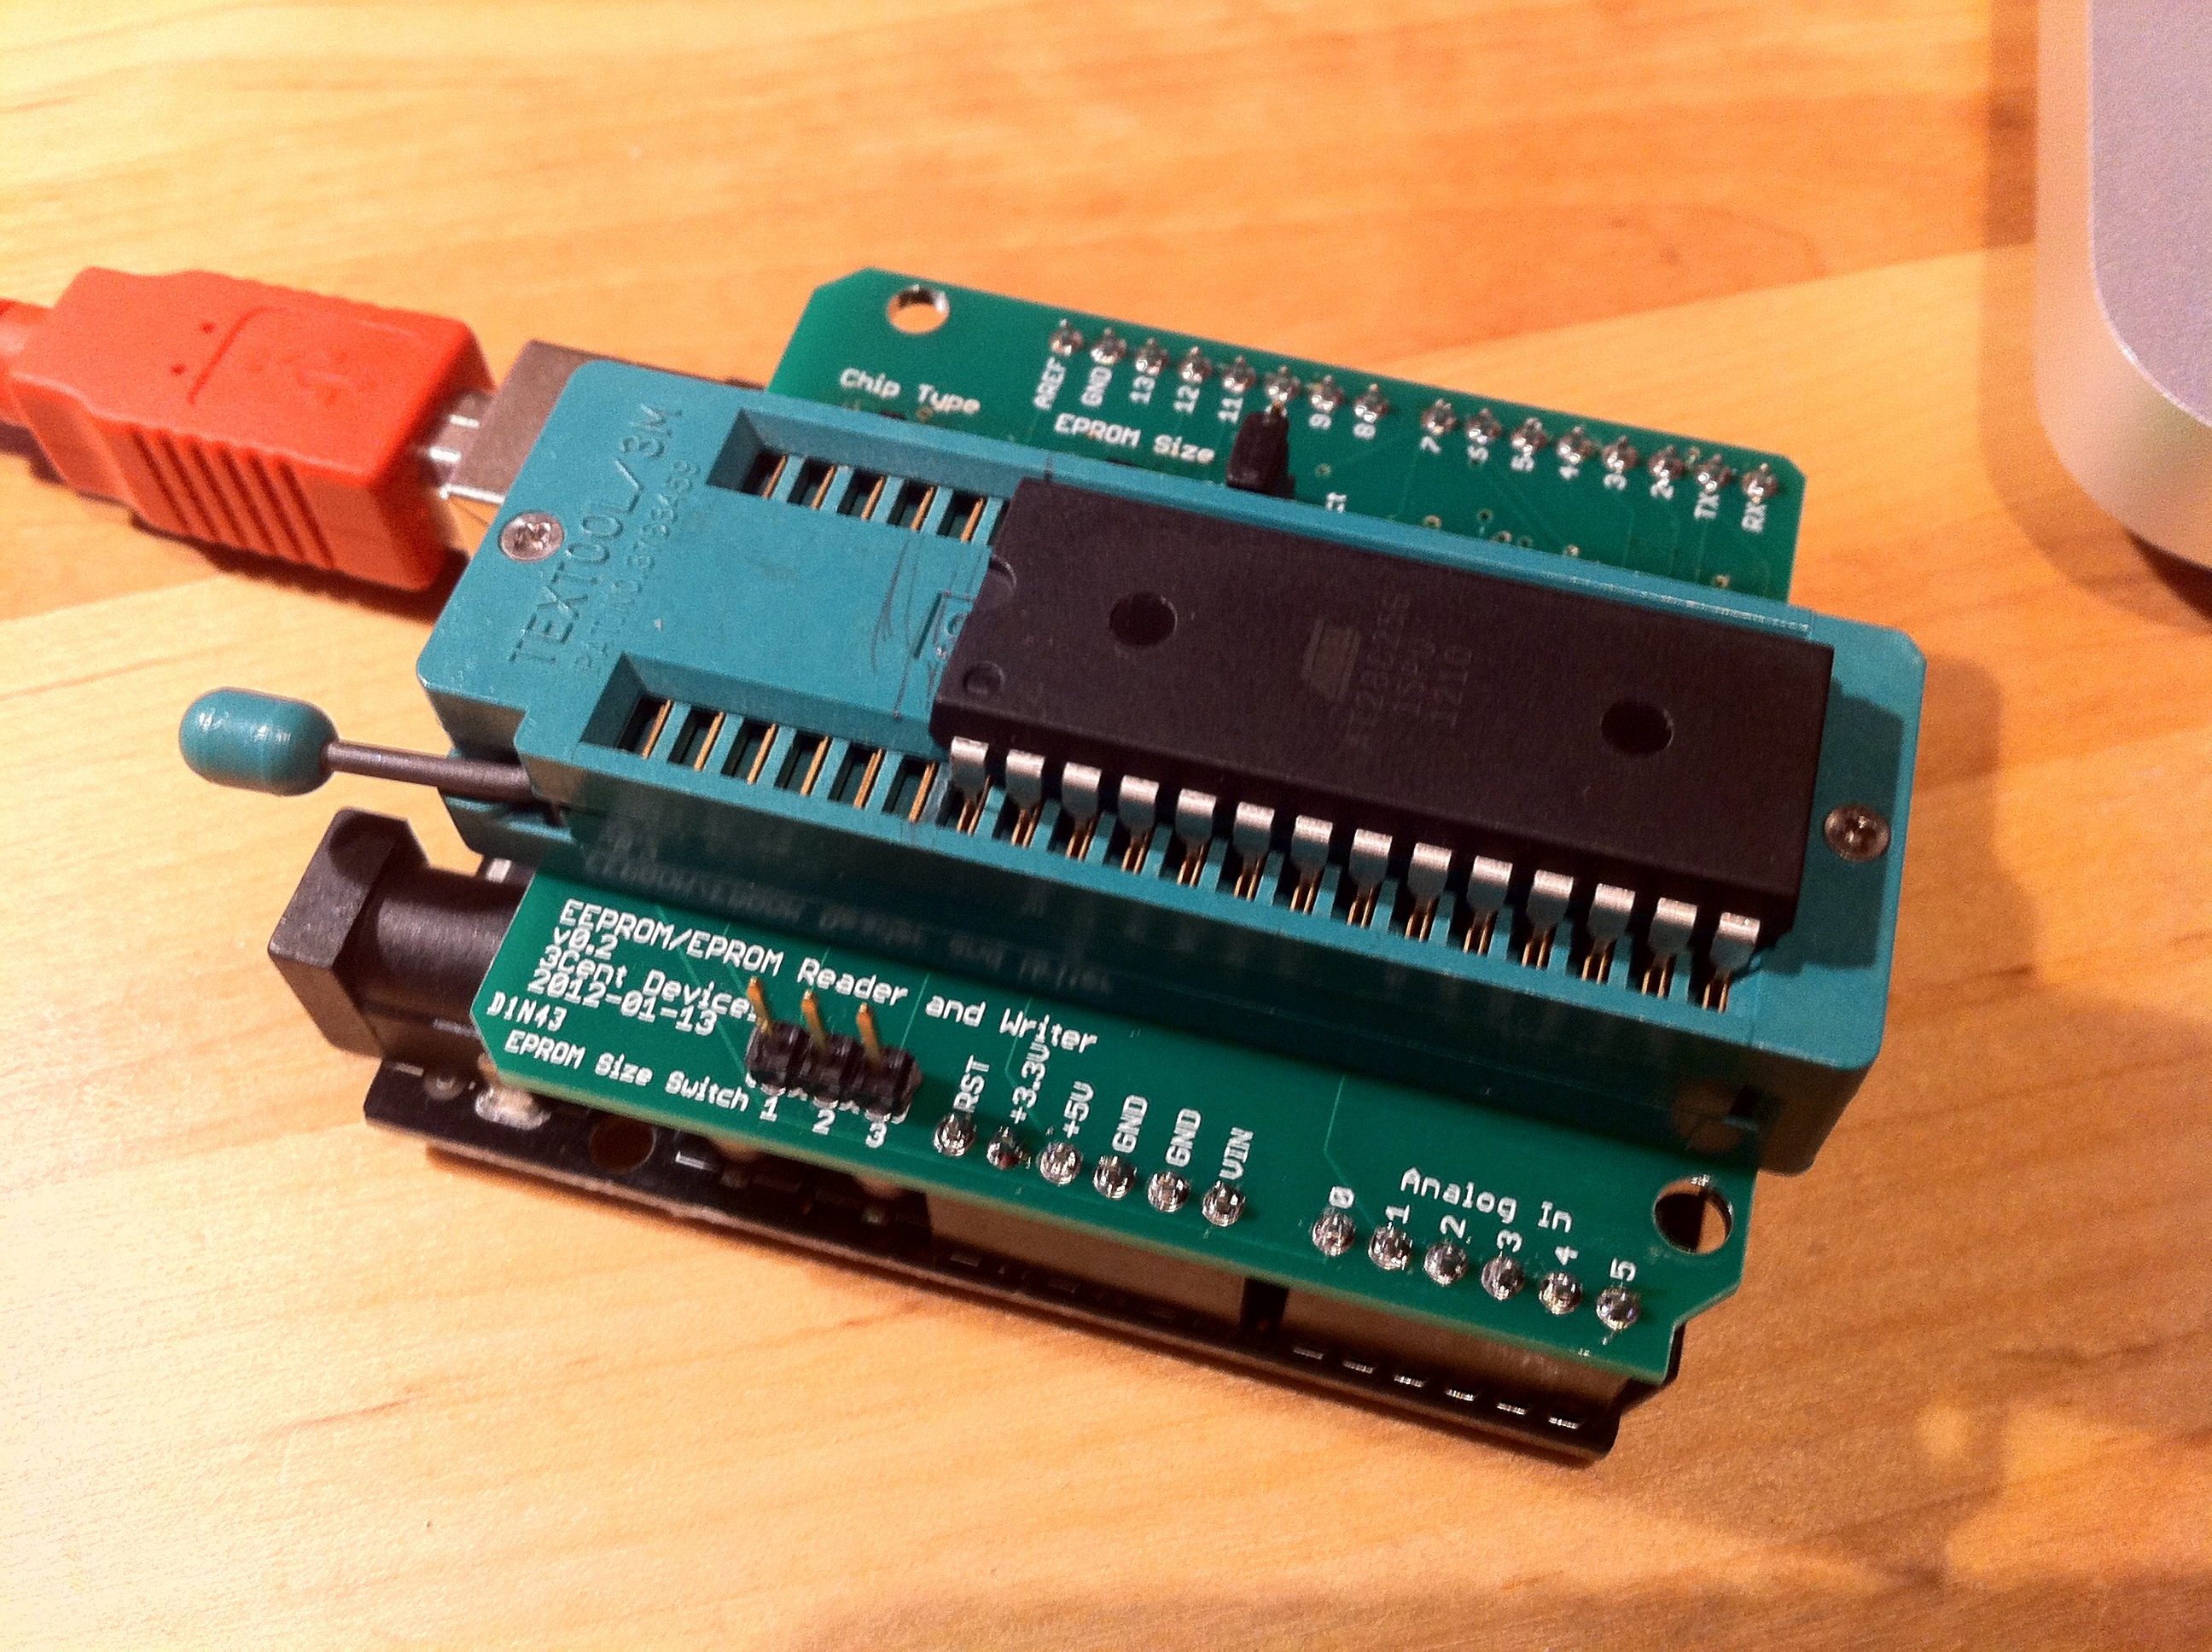
The shield itself sitting on top of an Arduino. That’s an AT28C256 EEPROM…:
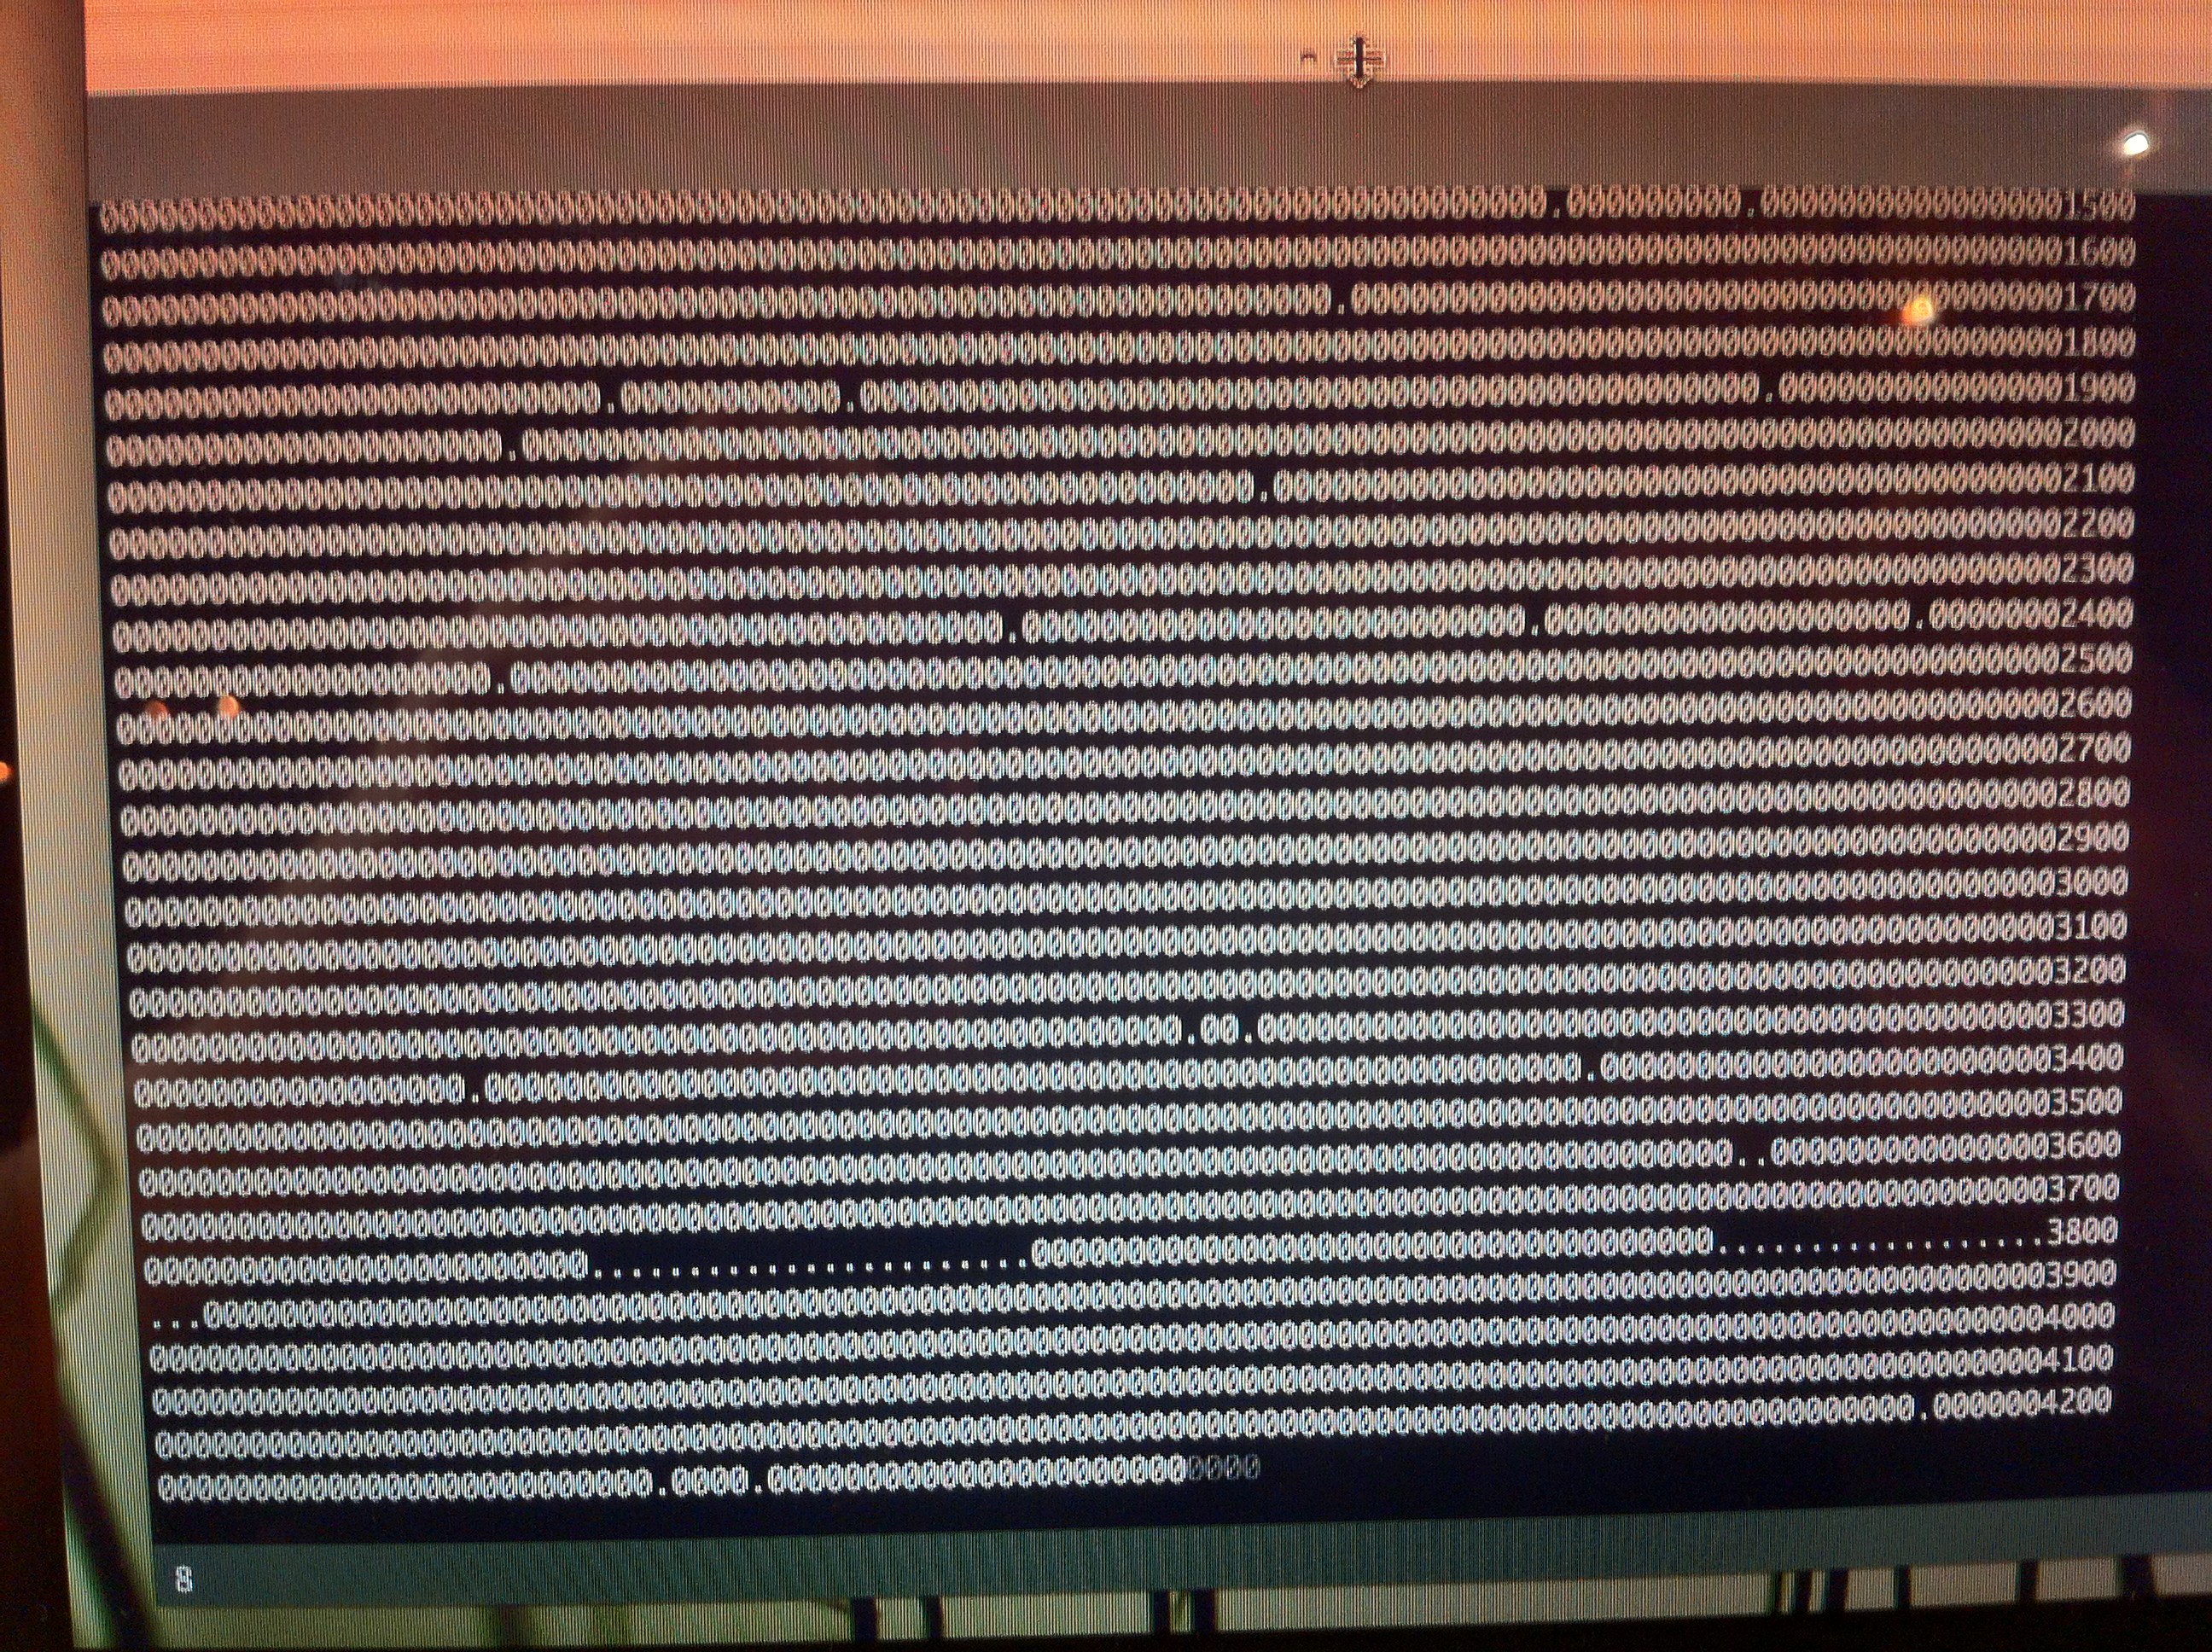
And here’s the Processing output as it’s writing the chip! Kinda simple but it works out. Periods are “that address is already correct” and zero’s are “that address needed to be written”. You can see the ghosting of the next chunk being written from the HDR overlay on the last four addresses…: